Homemade Peanut Butter Cups with Chocolate Shell
Highlighted under: Cozy Food
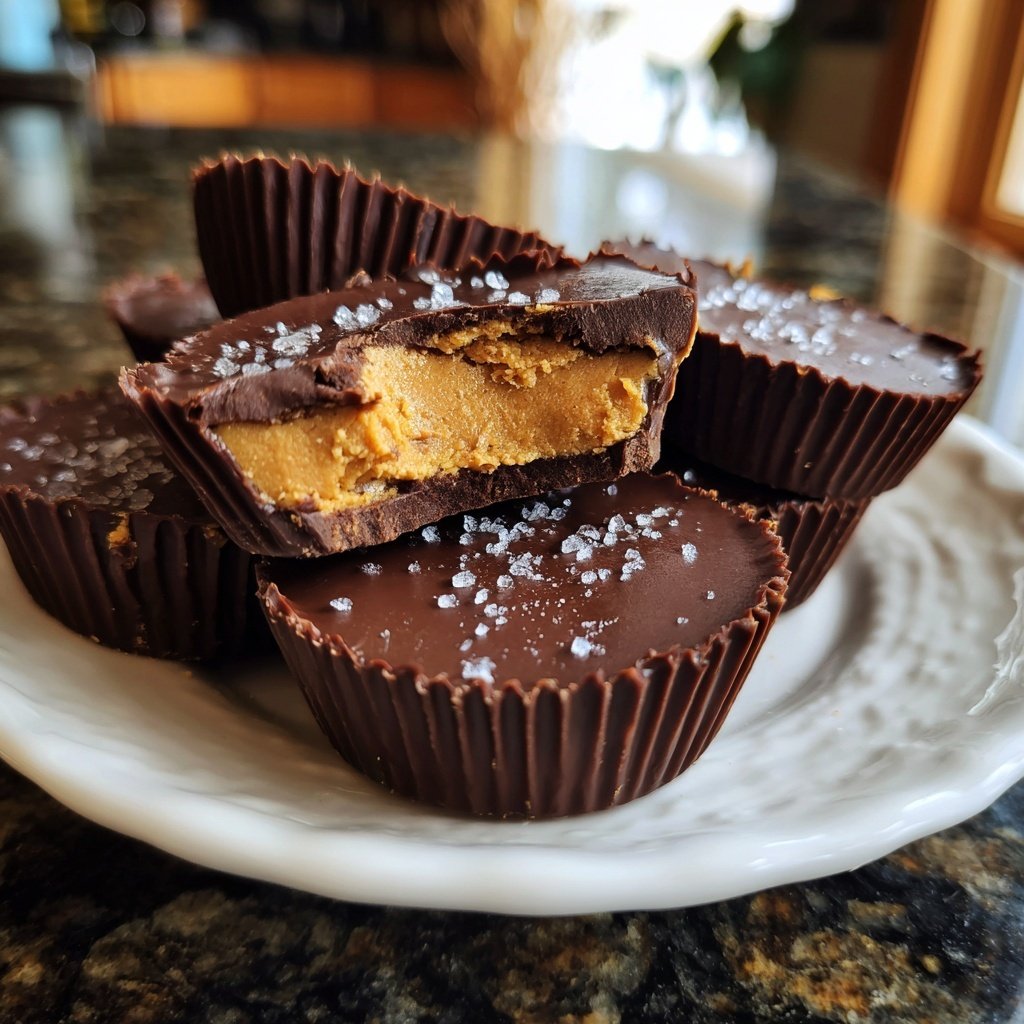
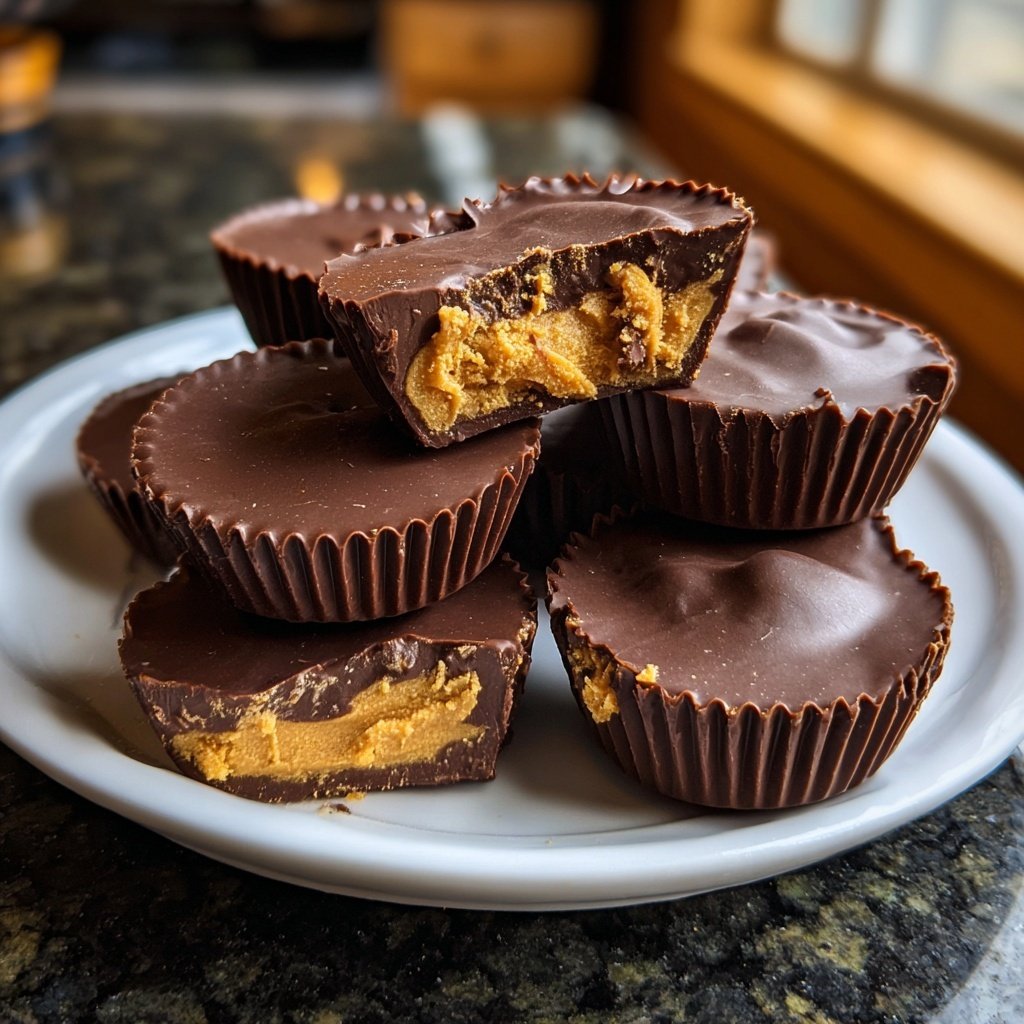
I love making these Homemade Peanut Butter Cups with Chocolate Shell because they are a nostalgic treat that never fails to delight. Combining creamy peanut butter and a silky chocolate coating, it’s a fun and simple recipe that I can whip up anytime. Not only are they easy to make, but they also bring joy to friends and family when I gift them. They are perfect for satisfying a sweet tooth or for special occasions, making them truly irresistible in my kitchen.
Creating these Homemade Peanut Butter Cups has been one of my favorite kitchen adventures. Each time I make them, I love experimenting with the proportions of peanut butter to chocolate, discovering the right balance that makes each bite heavenly. I also learned that using high-quality chocolate makes a remarkable difference in flavor and texture.
Through trial and error, I have found that letting the cups set properly in the fridge enhances the overall experience, giving them a satisfying snap when bitten into. The joy of sharing these homemade treats brings me back to my childhood and makes the effort worthwhile!
Why You'll Love This Recipe
- Rich chocolate flavor paired with creamy peanut butter filling
- Perfect combination of sweet and salty in every bite
- Quick and easy to make for every occasion
Mastering the Chocolate Shell
The chocolate shell is a critical component that defines the texture of your peanut butter cups. Using dark chocolate chips ensures a rich flavor that beautifully balances the sweetness of the peanut butter. If you’re looking for a more intense chocolate experience, you can opt for bittersweet chocolate, which enhances the contrast. When melting chocolate in the microwave, be sure to use short bursts and stir between to prevent overheating, which can lead to a clumpy or burnt consistency.
Coconut oil not only helps the chocolate melt smoothly but also adds a bit of shine to the finished cups. If you don’t have coconut oil, canola or vegetable oil can work as substitutes, but keep in mind that they won't add the same depth of flavor. Aim for a glossy finish after microwaving, which indicates it’s ready to be poured into your silicone molds. This technique is key for achieving that satisfying crack when biting into the chocolate shell.
Perfecting the Peanut Butter Filling
The creamy peanut butter filling is where the magic happens, combining flavors and textures. I recommend using a high-quality, smooth peanut butter for a luxurious mouthfeel. If you prefer a healthier option, look for natural peanut butter with no added sugars, but be aware that it might require a touch more powdered sugar to balance the flavor. The addition of salt and vanilla extract enhances the overall taste, creating a rich and satisfying filling that contrasts with the chocolate shell.
When mixing the filling, be sure to blend thoroughly until the mixture is completely smooth. This can make a significant difference in texture and ensure that every bite has an even distribution of flavor. If the mixture is too thick, adding a few teaspoons of milk can help loosen it without compromising the taste. A well-made peanut butter filling should be easily spooned into the chocolate shells but remain firm enough to hold its shape.
Ingredients
Ingredients
For the Chocolate Shell
- 1 cup dark chocolate chips
- 1 teaspoon coconut oil
For the Peanut Butter Filling
- 1 cup creamy peanut butter
- 1/2 cup powdered sugar
- 1/4 teaspoon salt
- 1 teaspoon vanilla extract
Instructions
Instructions
Steps to Make
Prepare the Chocolate Shell
In a microwave-safe bowl, combine the dark chocolate chips and coconut oil. Microwave in increments of 30 seconds, stirring in between, until fully melted and smooth.
Mold the Chocolate
Using a silicone muffin tray, pour a small amount of the melted chocolate into each cup, ensuring the bottom is covered. Place in the freezer for 10 minutes to set.
Make the Peanut Butter Filling
In a mixing bowl, combine the creamy peanut butter, powdered sugar, salt, and vanilla extract. Mix until smooth and creamy.
Assemble the Peanut Butter Cups
Once the chocolate has set, fill each cup with the peanut butter mixture, leaving a bit of space on top.
Seal with Chocolate
Cover the peanut butter filling with the remaining melted chocolate, ensuring it's evenly spread. Return to the freezer for another 10 minutes to set completely.
Serve and Enjoy
Once set, remove the cups from the tray and enjoy your delicious homemade peanut butter cups!
Enjoy!
Pro Tips
- For an extra touch, consider sprinkling some sea salt on top before the chocolate sets for a delightful sweet-and-salty contrast.
Storing and Freezing Tips
These Homemade Peanut Butter Cups can be stored in an airtight container in the refrigerator for up to two weeks, making them an ideal make-ahead treat. If you're making a large batch, consider freezing them to extend their shelf life. To freeze, place the cups in a single layer on a baking sheet until solid, then transfer them to a freezer-safe bag. They can be stored frozen for up to three months—it’s a great way to have a sweet treat at the ready whenever the craving strikes.
When you're ready to enjoy frozen peanut butter cups, simply remove them from the freezer and let them sit at room temperature for about 10-15 minutes. This allows the chocolate shell to soften slightly while keeping the peanut butter filling delightfully cool. If you want them immediately after freezing, consider microwaving them for just a few seconds, but be careful not to melt the chocolate.
Creative Variations to Try
For those looking to mix things up, consider adding toppings to your chocolate shell, such as crushed pretzels for a salty crunch, or drizzle with white chocolate for a decorative touch. You can also incorporate flavored peanut butter, such as honey-roasted or chocolate peanut butter, for an added layer of taste. Just ensure that any variations maintain a balance between sweet and salty to keep that irresistible flavor intact.
If you're feeling adventurous, try using other nut butters like almond or cashew butter in place of peanut butter. Just make sure to adjust the powdered sugar accordingly to maintain the sweetness. This opens up a whole new range of flavors that can cater to various dietary preferences, allowing everyone to enjoy these delightful treats your way.
Questions About Recipes
→ Can I use milk chocolate instead of dark chocolate?
Yes, milk chocolate can be used if you prefer a sweeter taste, but it may change the flavor profile.
→ How should I store the peanut butter cups?
Store them in an airtight container in the refrigerator for up to a week or freeze them for longer storage.
→ Can I make these vegan?
Absolutely! Use dairy-free chocolate chips and a nut butter that is free from any animal products.
→ What can I substitute for powdered sugar?
You can blend granulated sugar in a blender until fine to create your own powdered sugar.
Homemade Peanut Butter Cups with Chocolate Shell
What You'll Need
For the Chocolate Shell
- 1 cup dark chocolate chips
- 1 teaspoon coconut oil
For the Peanut Butter Filling
- 1 cup creamy peanut butter
- 1/2 cup powdered sugar
- 1/4 teaspoon salt
- 1 teaspoon vanilla extract
How-To Steps
In a microwave-safe bowl, combine the dark chocolate chips and coconut oil. Microwave in increments of 30 seconds, stirring in between, until fully melted and smooth.
Using a silicone muffin tray, pour a small amount of the melted chocolate into each cup, ensuring the bottom is covered. Place in the freezer for 10 minutes to set.
In a mixing bowl, combine the creamy peanut butter, powdered sugar, salt, and vanilla extract. Mix until smooth and creamy.
Once the chocolate has set, fill each cup with the peanut butter mixture, leaving a bit of space on top.
Cover the peanut butter filling with the remaining melted chocolate, ensuring it's evenly spread. Return to the freezer for another 10 minutes to set completely.
Once set, remove the cups from the tray and enjoy your delicious homemade peanut butter cups!
Extra Tips
- For an extra touch, consider sprinkling some sea salt on top before the chocolate sets for a delightful sweet-and-salty contrast.
Nutritional Breakdown (Per Serving)
- Calories: 380 kcal
- Total Fat: 26g
- Saturated Fat: 15g
- Cholesterol: 195mg
- Sodium: 85mg
- Total Carbohydrates: 32g
- Dietary Fiber: 3g
- Sugars: 24g
- Protein: 6g